
I've been dying to get my hands on a Fedora Core 5 for some time now. After a day of downloading, today I finally got to run my first FC 5 install. As expected, everything just works. I used CDs for my first install, but quickly setup the standard Red Hat/Fedora tree on my kickstart server. I'm glad I did.
The main draw for me with FC 5 is the integration with Xen. Up until now, I've had to use the live CD to try out Xen because I couldn't justify the time patching and compiling kernels to run inside Xen. With FC 5, all that work has disappeared. Here's a very good doc describing how to get started:
http://www.fedoraproject.org/wiki/FedoraXenQuickstartFC5
Now, I had one limitation on my development box, namely that it didn't have any outbound access to the 'net. That's okay, I setup squid on my workstation and was able to move on to configuring yum. I'm not sure what the problem was, but yum kept complaining about not being able to reach its repositiories. Whatever, I would think a default config file ought to have good default vaules in there but I guess not. After whacking that into shape I was able to install Xen on top of my fresh vanilla FC5. A quick edit to /etc/grub.conf (while I was talking to my Mom I might add, "Hi Mom) and I was all set to create domUs.
FC 5 provides a script to setup new domains automatically. This is nice.
Here's how I created one of my domUs, called xendomain2:
/usr/sbin/xenguest-install.py -n xendomain2 -f /home/xen/xendomain2 -r 256 -l http://kickstart.priv.nuasis.com/kickstart/fedora/core/5/i386/os/
This is okay, but I want an automated way. I don't like dealing with anaconda, enkay?
xenguest-install.py -n xendomain4 -f /home/xen/xendomain4 -s 25 -r 256 -l http://kickstart.priv.nuasis.com/kickstart/fedora/core/5/i386/os -x ks=http://kickstart.priv.nuasis.com/kickstart/cfgs/xen.cfg
Pow!
Here's whats going on at the moment on my xen test box:
[root@dev3-rep01 ~]# xm list
Name ID Mem(MiB) VCPUs State Time(s)
Domain-0 0 995 2 r----- 1103.9
xendomain2 13 256 1 ------ 39.2
xendomain1 14 256 1 -b---- 12.9
xendomain3 20 256 1 -b---- 13.7
xendomain4 25 256 1 r----- 481.4
[root@localhost ~]# rpm -qi kernel-xenU
Name : kernel-xenU Relocations: (not relocatable)
Version : 2.6.15 Vendor: Red Hat, Inc.
Release : 1.2054_FC5 Build Date: Tue 14 Mar 2006 02:22:51 PM PST
Install Date: Fri 31 Mar 2006 12:15:31 AM PST Build Host: hs20-bc1-3.build.redhat.com
Group : System Environment/Kernel Source RPM: kernel-2.6.15-1.2054_FC5.src.rpm
Size : 13268213 License: GPLv2
Signature : DSA/SHA1, Tue 14 Mar 2006 03:25:11 PM PST, Key ID b44269d04f2a6fd2
Packager : Red Hat, Inc.
Summary : The Linux kernel compiled for unprivileged Xen guest VMs
Description :
This package includes a version of the Linux kernel which
runs in Xen unprivileged guest VMs. This should be installed
both inside the unprivileged guest (for the modules) and in
the guest0 domain.
All above OSs are FC5 at the moment. I'm cool with that until I can figure out how to patch/install RHEL 3/RHEL 4 ontop of Xen on FC5.
I noticed some weirdness with ganglia, my open source cluster monitoring tool during and after the initial xendomain1 install. This is not surprising given all the virtual network and mac address forgery going on to support nesting OSs like this.
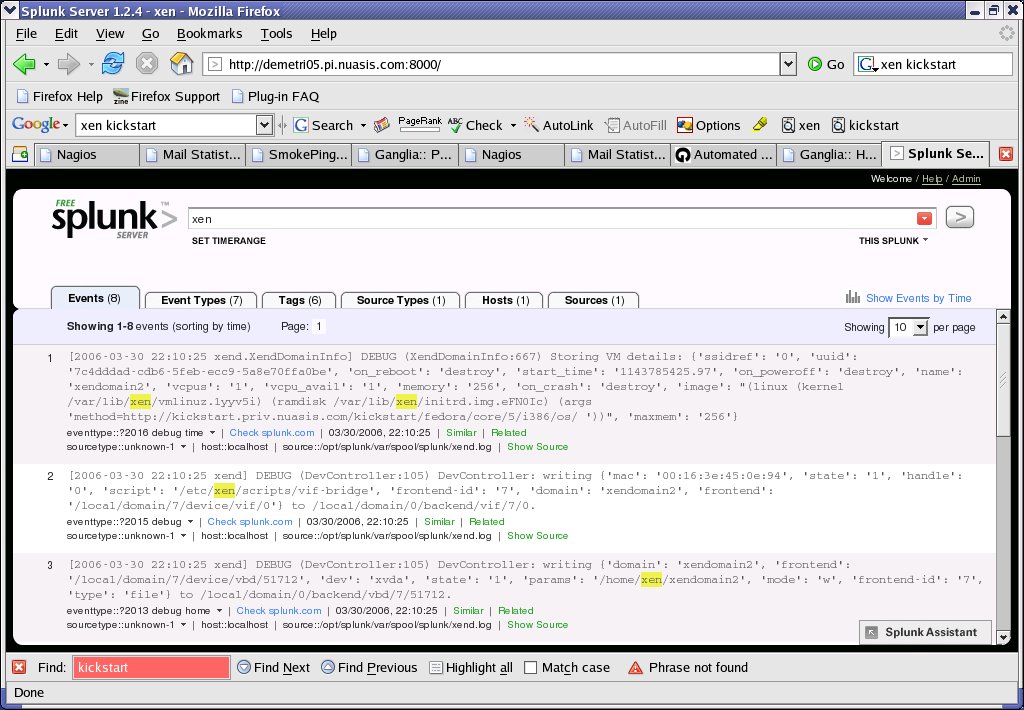
So, on to Splunk. I'm running v1.2.4 (thanks guys, for the quick turnaround on the installer). I wanted to capture these new logs coming out of the Xen install and configuration. I decidied to streamline my syslog-ng configuration on my splunk box a bit. Until now, each time I would add new machine, the syslogs wold end up under /var/log/remote-syslog-ng/$HOST/* where $HOST was the hostname/IP of the sending system. This is great for keeping logs seperate but sucks when it comes to modifying splunk configuration each time. So, I simplified my syslog-ng and have one "melting pot" for all my remote syslogs, regardless of originating system.
A few changes to my config and I was ready to restart syslog-ng.
That was fun!

Last Years Road Trip
7 years ago

0 comments:
Post a Comment